What It's Crucial to Rectify a Broken Faucet
What It's Crucial to Rectify a Broken Faucet
Blog Article
We have come across the article pertaining to Why It's Important to Fix Leaky Faucets directly below on the net and believe it made sense to talk about it with you on this page.
Trickling faucets may look like a minor inconvenience, but their effect exceeds just the aggravation of the noise. From wasting water to incurring unnecessary monetary costs and health dangers, ignoring a leaking tap can bring about numerous effects. In this short article, we'll explore why it's critical to address this typical household problem promptly and efficiently.
Waste of Water
Environmental Impact
Leaking faucets contribute dramatically to water waste. According to the Epa (EPA), a solitary tap leaking at one drip per secondly can throw away greater than 3,000 gallons of water annually. This not only pressures water sources however also impacts ecosystems and wild animals depending on them.
Step-by-Step Overview to Dealing With a Dripping Tap
Tools Required
Prior to trying to fix a leaking faucet, collect the necessary devices, including a flexible wrench, screwdrivers, substitute components (such as washers or cartridges), and plumber's tape.
Typical Faucet Issues and Their Solutions
Determine the sort of faucet and the particular problem triggering the drip. Usual troubles consist of damaged washers, rusty shutoff seats, or faulty O-rings. Describe producer guidelines or on the internet tutorials for detailed advice on repair work.
Financial Expenses
Enhanced Water Expenses
Beyond the environmental effect, dripping faucets can pump up water expenses significantly. The accumulated waste in time equates right into greater energy expenses, which might have been prevented with timely fixings.
Prospective Residential Or Commercial Property Damages
Additionally, extended dripping can result in damage to fixtures and surfaces bordering the faucet. Water build-up can cause staining, deterioration, and even structural concerns if left neglected, causing added fixing expenses.
Health and wellness Issues
Mold And Mildew and Mold Development
The continuous existence of dampness from a dripping faucet creates a perfect atmosphere for mold and mildew and mildew development. These fungis not just jeopardize interior air quality but likewise pose wellness risks, particularly for people with respiratory problems or allergies.
Waterborne Conditions
Stationary water in trickling faucets can become a breeding place for bacteria and other pathogens, boosting the danger of waterborne conditions. Pollutants such as Legionella bacteria thrive in stationary water, potentially causing severe ailments when ingested or breathed in.
Do it yourself vs. Specialist Fixing
Benefits and drawbacks of Do It Yourself Fixing
While some may attempt to fix a leaking tap themselves, do it yourself fixings include their own collection of challenges. Without proper understanding and tools, do it yourself attempts can aggravate the concern or bring about insufficient repairs, prolonging the issue.
Advantages of Hiring a Professional Plumber
Working with an expert plumber guarantees that the underlying source of the trickling faucet is dealt with effectively. Plumbing technicians possess the competence and equipment to identify and fix faucet problems efficiently, saving time and reducing the danger of additional damage.
Environmental Duty
Private Payment to Preservation
Taking responsibility for fixing leaking taps aligns with wider efforts towards water preservation and environmental sustainability. Every individual's actions collectively make a considerable impact on preserving precious resources.
Lasting Living Practices
By focusing on prompt repair work and adopting water-saving behaviors, individuals contribute to lasting living practices that profit both present and future generations.
Safety nets
Normal Maintenance Tips
To prevent trickling taps, carry out regular upkeep such as cleaning aerators, examining for leakages, and changing worn-out parts promptly. Additionally, think about installing water-saving gadgets or updating to more reliable fixtures.
Value of Prompt Services
Addressing trickling faucets as quickly as they're noticed stops additional water wastage and possible damage, eventually conserving both water and money in the long run.
Effect On Home Worth
Assumption of Well-Maintained Property
Keeping a building in good condition, consisting of dealing with maintenance issues like leaking faucets, improves its regarded worth and desirability among potential buyers or tenants.
Influence on Resale Value
Properties with well-maintained plumbing components, including taps, command higher resale values in the real estate market. Addressing trickling faucets can add to a positive perception during property evaluations and negotiations.
Verdict
Attending to a trickling tap goes beyond plain benefit; it's a vital step toward preserving water, minimizing economic costs, and protecting wellness and property. Whether through do it yourself repairs or specialist assistance, doing something about it to fix leaking taps is a small yet impactful method to advertise accountable stewardship of sources and add to a much healthier, more sustainable future.
How to Change Tap Washer- Simple Steps for Fixing a Dripping Faucet
Fed up with the incessant drip-drip sound from your tap? Don’t fret! The solution is here. This article presents a step-by-step walkthrough to replace a tap washer and put an end to that irksome dripping. Crafted for DIY enthusiasts seeking a swift and efficient fix, this comprehensive guide ensures you’re covered. Let’s dive in and tackle this issue head-on!
To kick things off, gather the necessary tools and materials for the job. Grab your adjustable wrench, a screwdriver (flathead or Phillips), a fresh tap washer, a replacement O-ring (if needed), plumber’s tape, and a cleaning cloth. These components are vital for a successful tap washer replacement.
Why Change Tap Washer: Reasons for Fixing a Dripping Faucet
A dripping faucet is not just an annoyance; it can also lead to wasted water, higher utility bills, and potential damage to your fixtures. To address this common plumbing issue, changing the tap washer is often the solution. Let’s explore the reasons why you should consider changing the tap washer and the benefits it brings.
Eliminate the Annoying Drip
The primary reason to change a tap washer is to put an end to that irritating drip sound. The constant drip-drip can be a source of frustration and disturb your peace at home. By replacing the tap washer, you can restore tranquillity and enjoy a quiet, peaceful environment.
Save Water and Money
A dripping faucet has the potential to squander a considerable volume of water over time. As per the Environmental Protection Agency (EPA), a solitary faucet that drips at a pace of one drop per second could lead to the wastage of up to 3,000 gallons (11,356 litres) of water annually. By replacing the tap washer and rectifying the drip, you contribute to water conservation and a reduction in your water bill.
Prevent Water Damage
Persistent dripping can lead to water damage in your fixtures and surrounding areas. The constant moisture can cause discoloration, staining, and even structural issues over time. By addressing the drip promptly and changing the tap washer, you can prevent potential water damage and avoid costly repairs or replacements in the future.
Extend the Lifespan of Your Faucet
A worn-out tap washer can put additional strain on the other components of your faucet, leading to premature wear and tear. By replacing the tap washer, you ensure that the faucet operates smoothly and efficiently. This helps extend its lifespan, saving you from the hassle and expense of replacing the entire fixture.
Promote Environmental Sustainability
Conserving water is not only beneficial for your wallet but also for the environment. Every drop of water saved contributes to the conservation of this precious resource. By changing the tap washer and fixing leaks, you play a role in promoting environmental sustainability and reducing water waste.
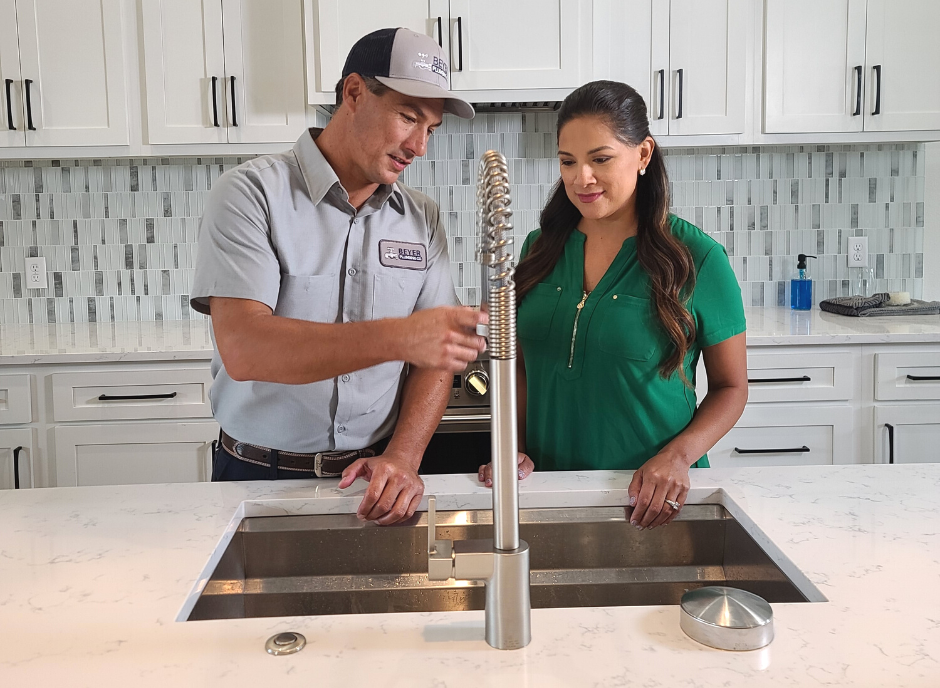
Step 1- Turn Off the Water Supply Before diving into the repair, locate the main water supply valve and turn it off. This important step ensures that no water flows to the tap while you work on it. By shutting off the water supply, you create a safe and controlled environment for the repair. Step 2- Prepare the Work Area To avoid any mishaps, it’s essential to prepare the work area. Place a plug in the sink’s drain or cover it with a cloth to prevent small parts from accidentally falling in. This precautionary measure will save you from the frustration of fishing out lost screws or washers. Step 3- Remove the Tap Handle Using a screwdriver, gently remove the tap handle. Look for a screw beneath the cap or cover, and unscrew it to detach the handle. In some cases, you may need to pull the handle directly. Set the handle aside in a safe place to avoid misplacing any components. Step 4- Expose the Tap Spindle With the handle removed, you’ll see the tap spindle. To expose the tap assembly, use an adjustable wrench to turn the spindle counterclockwise. Be careful to support the rest of the tap to prevent any strain on the connections. Step 5- Remove the Old Tap Washer Inspect the tap assembly and locate the old tap washer, usually positioned at the base. Depending on the design, you may need to unscrew a retaining nut or remove a screw to release the washer. Take your time and remove the old washer carefully. Dispose of it properly. Step 6- Inspect the Tap Seat Before installing the new tap washer, it’s crucial to inspect the tap seat. This is the surface against which the washer will sit. Look for any signs of damage, such as pitting or corrosion. If you notice any issues, consider using a reseating tool to restore the smoothness of the seat. If in doubt, consult a professional plumber for guidance. Step 7- Install the New Tap Washer Place the new tap washer in the same position as the old one. Ensure it fits snugly and aligns correctly. Refer to the manufacturer’s instructions if necessary, as some tap washers may have specific installation requirements. Securely reassemble any retaining nuts or screws, being careful not to over-tighten them. Step 8- Reassemble and Test Carefully reassemble the tap in the reverse order, making sure all components are tightened properly. Attach the tap handle securely, aligning it with the spindle. Once everything is reassembled, turn on the water supply and test the tap for any leaks. If all is well, congratulations! You’ve successfully changed the tap washer and fixed that pesky drip. Essential Do’s and Don’ts for Changing a Tap Washer
If you’re someone who enjoys handling household repairs and is seeking a quick solution to fix a dripping faucet, changing a tap washer might just be the answer. However, to ensure a successful outcome and avoid potential pitfalls, it’s essential to follow some important do’s and don’ts. By adhering to these guidelines, you’ll be well-equipped to tackle the task effectively and achieve a satisfying result. Let’s explore the common do’s and don’ts for changing a tap washer.
Use the Right Tools and Materials
Securing the right tools and materials is essential for a seamless and trouble-free tap washer replacement. Make sure to have an adjustable wrench, an appropriate screwdriver (flathead or Phillips), a fresh tap washer, a potential replacement O-ring, plumber’s tape, and a cleaning cloth on hand. Utilising correct tools and compatible tap washers streamlines the process, ensuring a proper fit and ultimately leading to a more effective resolution.
Turn off the Water Supply Before Starting
Before embarking on any work, it’s imperative to shut off the water supply to the tap you’re going to work on. This precautionary step prevents any accidents or potential water damage. Locate the shut-off valve under the sink or near the water metre and ensure it is firmly closed. By cutting off the water supply, you create a safe environment to proceed with the tap washer replacement.
Follow the Manufacturer’s Instructions, if Available
If your tap includes detailed instructions from the manufacturer, it’s strongly recommended to adhere to them meticulously. Manufacturers often offer valuable insights and tailored step-by-step directions for their products. By following these instructions, you can ensure the accurate completion of the replacement process and attain the best possible outcomes.
Do you enjoy reading about What Causes Leaky Faucets & How To Fix Them? Make a comment down below. We will be glad to know your opinions about this blog post. In hopes that you come back again soon. Sharing is caring. Helping people is fun. I praise you for your time. Kindly stop by our website back soon.
Report this page